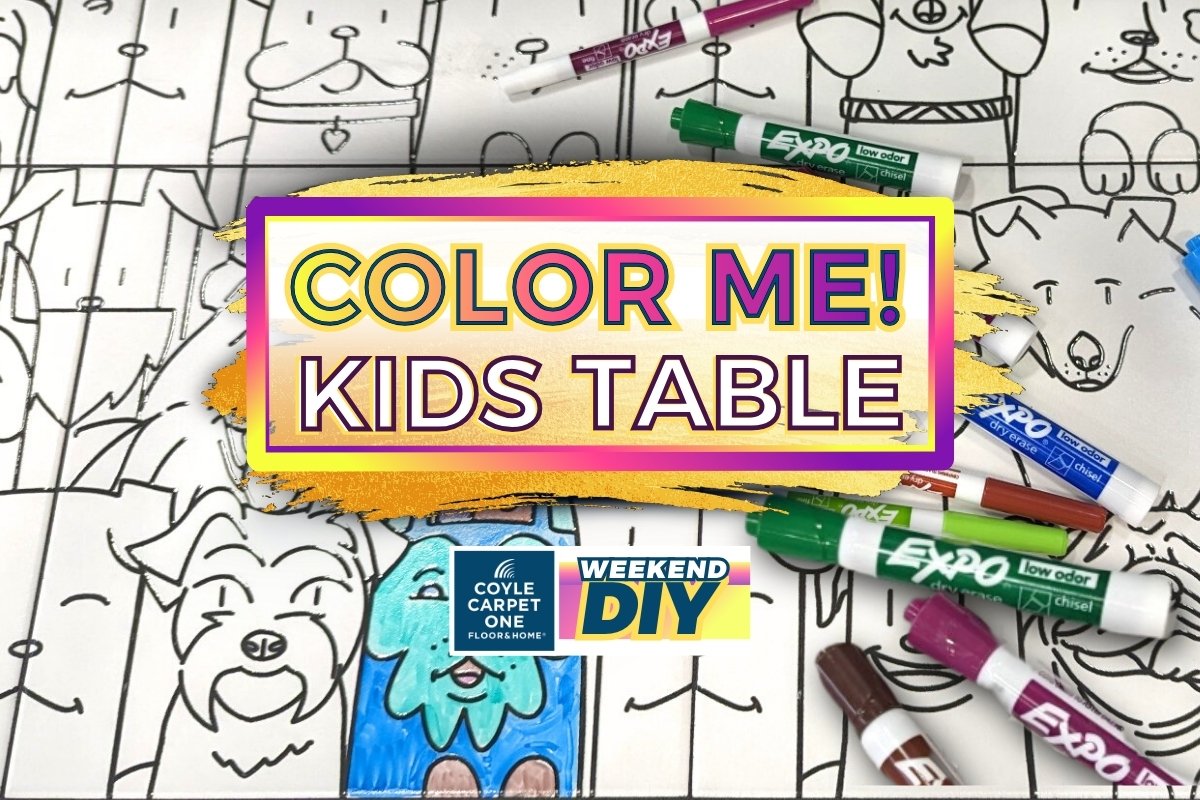
DIY Kids Tile Coloring Table
Looking for a creative, durable kids activity table that can handle markers, paint, and everyday wear? This DIY kids tile coloring table is a weekend project that combines fun design with professional-grade materials.
Using Kerdi-Board as the base, thin-set is used to bond the tile. Metal edging is added for safety. This 40″ x 20″ table is built to last. Best of all, there’s no tile cutting required—making it approachable for beginners.
Whether you’re creating a craft station, homeschool workspace, or playroom centerpiece, this tiled table delivers durability and personality.
Materials Needed for a DIY Kids Tile Table
Base & Structure
- Kerdi-Board (cut to 40″ x 20″)
- 20″ Hairpin Table Legs
- Bolts, washers, and nuts (size appropriate)
- Drill + drill bits
- Wrench or socket wrench
Tile Installation Materials
- 10×10 “Oh My” Color-Me Tile (Cat or Dog design)
- Schluter All-Set or thin-set
- 1/4″ x 1/4″ square-notched trowel
- 1/8″ tile spacers
- Schluter Rondec Step metal edging
- (4) 90° outside Rondec corners
- Kerdi-Fix (Bright White)
Grouting Supplies
- Cement-based grout (Black is recommended to hide possible staining that can come from dry erase markers)
- Grout float
- Sponge
- Two clean buckets of water
- Microfiber cloth
Step 1 – Cut & Prep the Table Base


Cut & Prep the Table Base
Cut the Kerdi-Board to 40″ x 20″ using a utility knife. Score and snap for a clean edge.
Pro Tip: For added strength, you use plywood beneath the Kerdi-Board for added rigidity.
Step 2 – Drill & Secure the Table Legs
Mark leg placement carefully before drilling.
Drill pilot holes through the board. Attach legs using bolts, washers, and nuts—not standard screws.
Why bolts matter:
The tiled tabletop adds weight. Children may lean, climb, or sit on the table. Therefore, bolted connections provide superior strength. They offer long-term stability.
Use a wrench or socket wrench to tighten securely.
Step 3 – Cut & dry-fit Metal Edge Trim


Measure and cut Schluter Rondec Step profiles:
- Two pieces at 40″
- Two pieces at 20″
Adjust slightly to account for 90° corner inserts.
Best Cutting Methods:
- Miter saw with non-ferrous blade
- Hacksaw with fine-tooth blade
- Miter box for clean 45° cuts
Dry-fit everything before mixing thin-set.
Step 4 – Apply Thin-Set & Install Metal Profiles
Always follow manufacturer mixing instructions.
Using a 1/4″ x 1/4″ square-notched trowel:
- Spread thin-set evenly.
- Embed metal edging into the thin-set.
- Check alignment and level.


Secure the four 90° outside Rondec corner pieces using Kerdi-Fix.
Press firmly and ensure corners are flush and aligned before proceeding.
Step 5 – Set the Tile


Work efficiently once thin-set is mixed.
- Place tile carefully.
- Follow the pattern so the design aligns.
- Use 1/8″ spacers for consistent grout joints.
Allow tile to cure at least 24 hours (70°F / 50% RH).
Full cure before heavy use: 72 hours.

After setting the tile, allow the tabletop to fully cure. This process takes a minimum of 24 hours. It ensures the tile and thin-set properly bond and harden. This must be done before moving on to grouting or handling the table.
Step 6 – Grout the Table


Once tile is fully set:
- Mix grout per instructions.
- Apply using a grout float at a 45° angle.
- Press grout firmly into joints.
- Remove excess with float edge.

Cleaning Tips:
- Use a damp sponge (not soaking wet).
- Rinse sponge often in clean water.
- Do not let grout haze sit too long or it will permanently adhere to tile.
Initial clean-up: 20–30 minutes after application.
Full grout cure: 72 hours
Is This Table Safe for Kids?
Yes—when built correctly.
Safety considerations:
- Low center of gravity
- Properly bolted legs
- Smoothed metal edge profiles
- Fully cured tile and grout before use
This table is durable enough for everyday creativity and occasional climbing.
Mention This DIY In-Store & Save
Mention this DIY video in our store and enjoy 10% off materials* purchased directly from our in-stock inventory.

*Offer cannot be combined with other promotions.
Affiliate & Brand Disclosure
Any brands or products referenced are not affiliated with, endorsed by, or sponsoring this project.
Some links may be affiliate links. As an Amazon Associate, we earn from qualifying purchases at no additional cost to you. Pricing, availability, shipping, and returns are handled solely by the third-party retailer.
Looking for Tile or Installation Supplies in Madison, WI?
If you’re located in Madison, WI or surrounding areas, stop into our showroom to explore tile, edging profiles, and installation materials in person.